The Deconstruction
Nothing changes till you start to break it down. — Mark Oliver Everett
This is the first serious attempt to try to come with something on my own. The idea came from the cover of a notebook1. I was automatically attracted to it, and I decided I wanted to replicate those graphics procedurally.
To set the title for this project, I used Eels’ last album: The Deconstruction
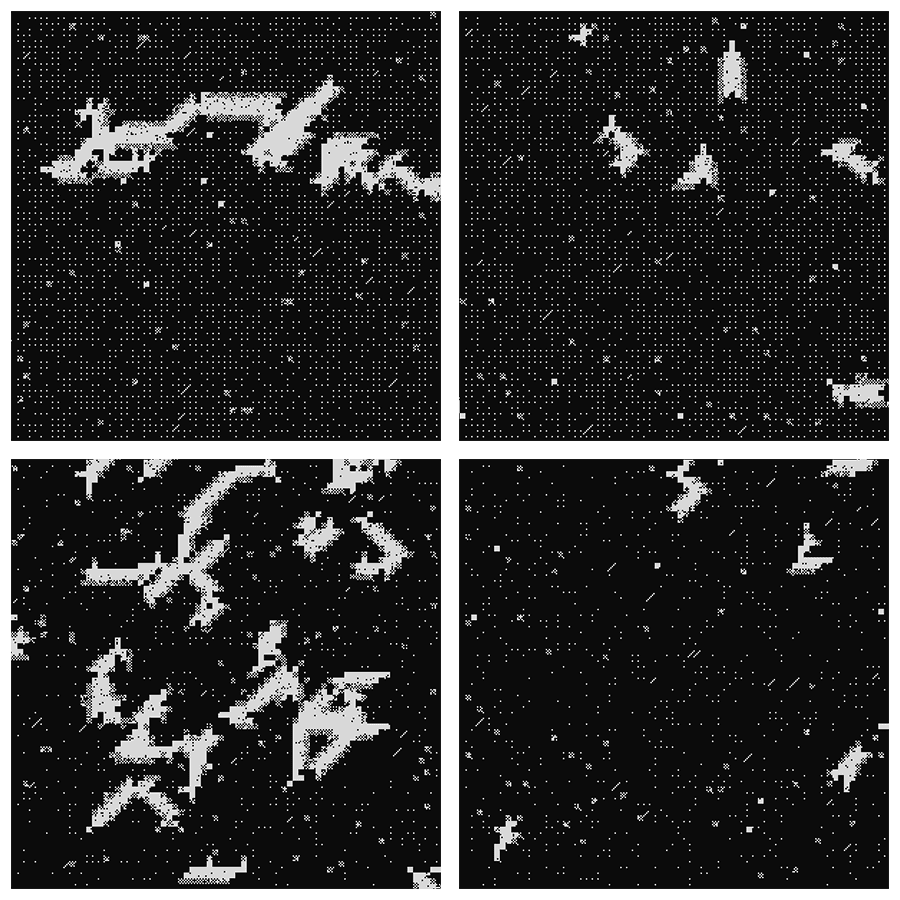
At the end, I ended with results like these ones:

It took me about six hours along two days between drawing, designing, and coding.
The code is available at davidomarf/generative/deconstruction.
The abstraction
The first thing I did was de-composing the “pattern” into its individual elements:
- Points: Pretty self-explanatory. At first, I assumed they were uniformly
distributed, but after watching the notebook for a longer time, I realised
that the individual points were only on the right-bottom
cellinside aslab, which is a collection of 4 x 4 cells (more on this later). This makes the whole work appear more ordered. - Raindrops: The diagonal lines with lengths between 3 and 6,
- Chess slabs: Slabs with a chess-like fill.
- Solid slabs: Slabs with a solid fill.
I noticed that the individual points and the raindrops, were mostly uniformly distributed. The slabs (chess and solid) can be in clusters or uniform distribution.
The Structure
The points are a filled cell, which is the basic structure. A cell can be
filled or blank.
A collection of (4 x 4) cells is a slab. And is the slab the structure that
can be solid (all cells filled), or chess-filled (filled and blank cells
intercalated).
The “Randomness”
Apart from randomly deciding the position of each point/slab, I decided to determine the “consistency” of each slab, by giving it some probability to deviate from the ideal slab: filled cells when blanks are the default, or viceversa.
Up to here, I coded the first versions. They lacked clusters, and were all uniformly distributed accross the space.

One of the results of this first version that I liked most, even being very simple and basic, was this one using only points. I’ll definetely modify this (specially the opacity) for other projects.

The clustering
The clustering (I called it propagation during the design) was the last piece to be developed. Even now I feel pretty unsure of the method I used, and I’m looking forward to think of new methods that can get better results in term of “naturality” and efficency.
My current idea goes like this:
- Select one slab.
- Choose the propagation direction.
- Move to the next slab in that direction.
- Grow to the sides (perpendicular direction from where you came)
- Choose the propagation direction, which is heavily influenced by your previous direction.
- Repeat 3-5 n times.
I chose to keep the direction somewhat constant because of the original looks of the notebook.
After applying that idea, I could get clusters like this:
